Level Design in Unity 3D Part 1: The Floor
Welcome to the exiting world of designing a 3D game environment! Over the next few articles, I will be using ready-to-go game assets to build a Science Fiction game scene using Unity and GameDevHQ’s Asset Pack, Filebase.

A new 3D project is opened, and the initial floor asset is dragged into the Hierarchy from the Project folder. With the floor game object selected, ctrl + D will duplicate the game object.

Holding control while dragging the duplicated object into a new position, will snap the movement to whole increments, which is very helpful for lining up and reproducing objects quickly and accurately.

Multiple objects can be selected by holding the shift key. The objects are duplicated, and their position is snapped into a new location.

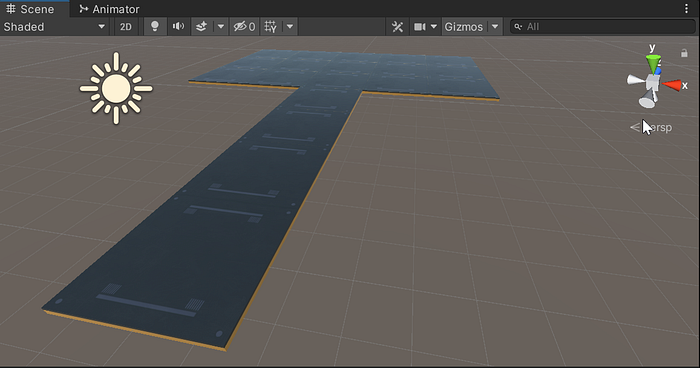
This process is repeated to make this hallway with a room as the destination.
Another brighter floor piece is brought into the Hierarchy to build a perimeter. With the rotate icon selected at the top left, the control key can be held while rotating an object, to snap the rotation to whole increments.

The new floor piece is expanded into many duplicates and moved into place.
Changing from Pivot to Center, will rotate all selected objects as if they were a single object.
More floor objects are duplicated around the perimeter of the room.
Prefabs are a useful way to create variation in your game scene. Variety is really what adds life and natural believability to a visual composition. A single prefab can be duplicated all around the game scene, and then the core prefab can be edited to adjust all instances at once. To get started, create a new folder for the floor prefabs.

I select a corner tile in the room space and drag it into the prefabs folder.

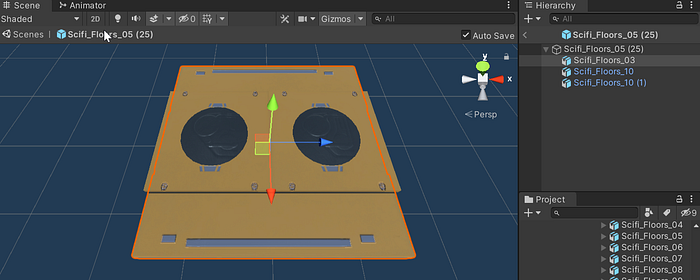
A second game object that is a bit smaller, is layered on top of the regular floor tile to give the overall floor look a nice change of pace.
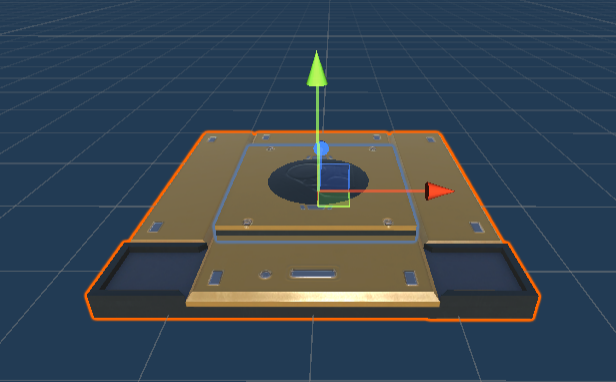
While this prefab is stored at a default position of zero in world space, it can quickly be assigned to replace an existing tile.
Select the tile to be replaced in the scene view or hierarchy, then drag the prefab into it to make it a child of the parent tile, also inheriting the position. Now that it has the same position of the parent tile, the prefab is dragged out and the parent is deleted. This technique is useful for quickly building an environment with one object, and then coming back to quickly create variations by replacing pieces with other objects.
The prefabs can be placed around the floor to add some variety.

A new tile object can be made a child of the parent prefab tile, and if the Mesh Renderer on the parent is disabled, only the children objects will remain visible.

Further edits are made to the tile prefab, and those changes are reflected throughout all instances in the game scene.
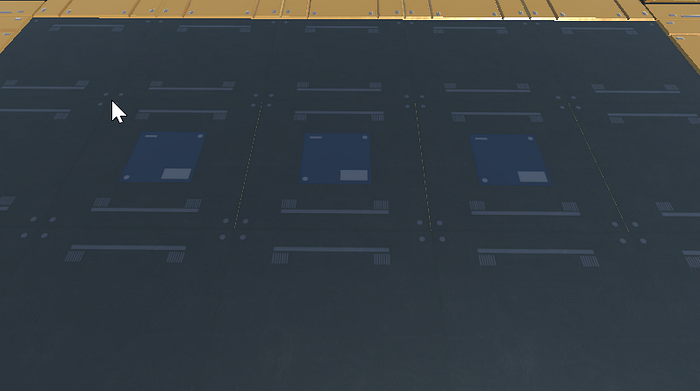
Here is how the floor is looking now.
The center three tiles are replaced with a variation of the original to add some spice to the floor.
With the floor layout complete, it is time to address a messy hierarchy with all of these individual floor pieces.
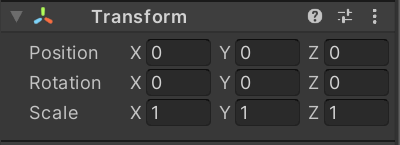
A new empty object is created to hold all static (still) objects in the scene. Another empty object is created inside the Static object and called Floors. It’s important that these new objects are set to zero for their position upon creation. All floor objects are now selected and dragged into the Floors object, which is collapsible for a nice clean hierarchy and general organization.
A quick way reset the position of a new object is to right-click the transform, and press Reset just after it is created.
In my next article, I will begin the creation of some walls to this structure. Thanks for reading!